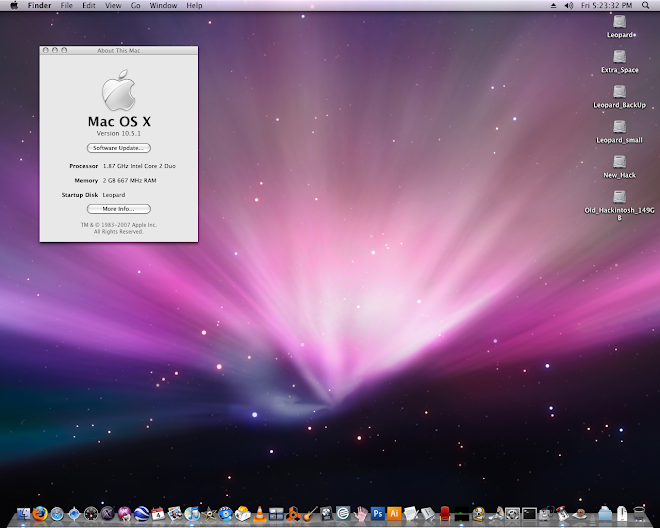


This was a lot harder than installing Tiger. But it is so much more like a mac now! Ever since the implementation of Netkas' EFI, osx86 has not been the same. I can now download System updates like 10.5.1 straight from the Apple software update. I don't have to worry about patched kernels anymore.
My Tiger install was running just fine. But because Leopard's new I had to try it. I didn't even want to begin installing Leopard because I knew it was going to be very involved in the early phases before one step installer dvds were out.
And I was right. I tried installing just about every single release of Leopard install method out there. Each one had its benefits but I didn't feel like I was using a real mac yet. There were a lot things not working. Also some hackers were putting there own folders and applications in the install. This is a good idea in theory, but I really don't want to have someone stepping on my Mac experience. Thanks but no thanks. So it was off to retrying other install methods that were more difficult but didn't change the Mac OS at all.
The up side is I am so glad I did all of the experimenting I did. If I would have just used someones installer dvd I would not have learned everything I did. I learned which kexts do what and when the system would start to feel like a real mac. Add one too many kexts and I would loose something important, don't add enough kexts and my hard drives would turn orange like external drives. So if you have time to learn how computers work, like I just happened to have since there is writers strike in Hollywood, maybe you live in Mom's basement and don't have to worry about work, then go for it and do it self! If not just download a prepatched dvd and check the appropriate features for your computer setup.
The method I ended up using was the BrazilMac prepatching of the retail dmg of Leopard. I had to add a few things to my kext folder for my video card. I ended up using I_am...me's post patch because his selection of kexts seemed to work the best for my computer. And of coarse the most important thing was to repair the permissions in single user. I listed how to do that in another post just scroll down.
Another cool thing I learned was how to make a perfect copy of my leopard install. It's actually just one step: use ccc for leopard. Then I had a copy to play with in case I make a mistake. I now had a problem though. I had like three different Leopard install on three different partitions of my hard drive. So I learned about boot loader flags. This is really cool. You can get under the hood and tell your computer which partition to boot up from. In a real mac you just go to start up disk, but since this is a PC mac doesn't begin until the disk has already been selected so it basically doesn't work.
Thus boot flags. I now have my second partition boot up in verbose mode because I added some boot flags to the boot.plist of the first install. The first partition has to have an install on in order to tell the other drives what to do.
Here is my system profiler


1 comment:
Hi
great job you've done there,
I am also thinking to buy a mac pro case and fit a pc inside, but only thing worries me is the front start up panel, I see you havnt connect anything to the motherboard, just would like to know how you did it, it will be really great to let me know
max
please let me know
chiminlondon@hotmail.com
Post a Comment